I have a small house on a small lot in a small neighborhood and a big problem. It’s having space for my kids to play while also having space for my wife and me to hang out and relax. We don’t have the option of having them separate because there just isn’t enough room, so I’ve been figuring out how to combine them in interesting ways. Making structures and furniture multi-use is a great way to maximize limited space and is the perfect solution to the minimal space problem.
As we’ve been remodeling our house, we’ve been thinking about a lot of different ways to make our space more livable, and merging our inside and outside spaces has been at the top of the list. We plan on replacing our decking and adding onto it throughout the property as a way to create a more inviting and balanced space for us and our guests. Part of that plan involved a small deck to the side of our tiny guest house we remodeled. My mom had been bugging me about getting a sandbox and I couldn’t find a place for it. So, why not combine the sandbox and the deck and make a Hidasandindeken?
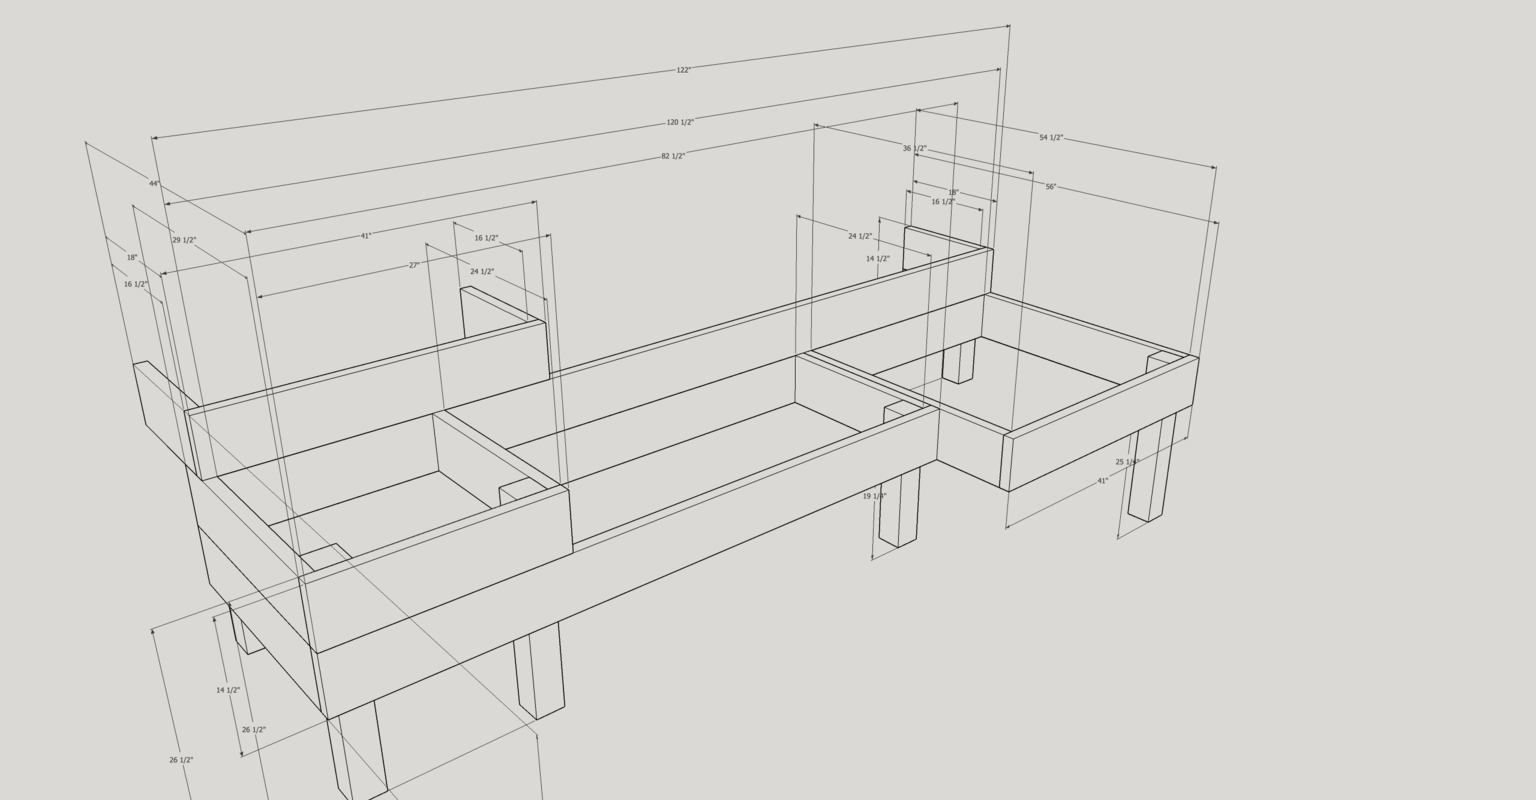
I like short-term projects like this because it allows me to get the creative juices flowing and I get almost immediate satisfaction from seeing what I built and people using it. It also helps to gain perspective on various methodologies applied to different types of projects that I can bring back to programming. With the software you create some requirements/stories and start building without necessarily needing a design first. You could also build a physical object that way, but I’ve done it, and often you don’t get great results, especially if you are building something that hasn’t been built before. You end up designing as you go and it’s hard for the object to look and feel like a cohesive piece. This project required a design and is much better off because of it. Initially, I had an idea in my head of what it would look like from a visual standpoint, but I didn’t know how it would structurally come together, what materials would work, and how it would fit in with the building and fence nearby. I drafted up a plan in SketchUp and was able to see some things I thought would be cool or would work that didn’t, and also found a more interesting shape for the deck.
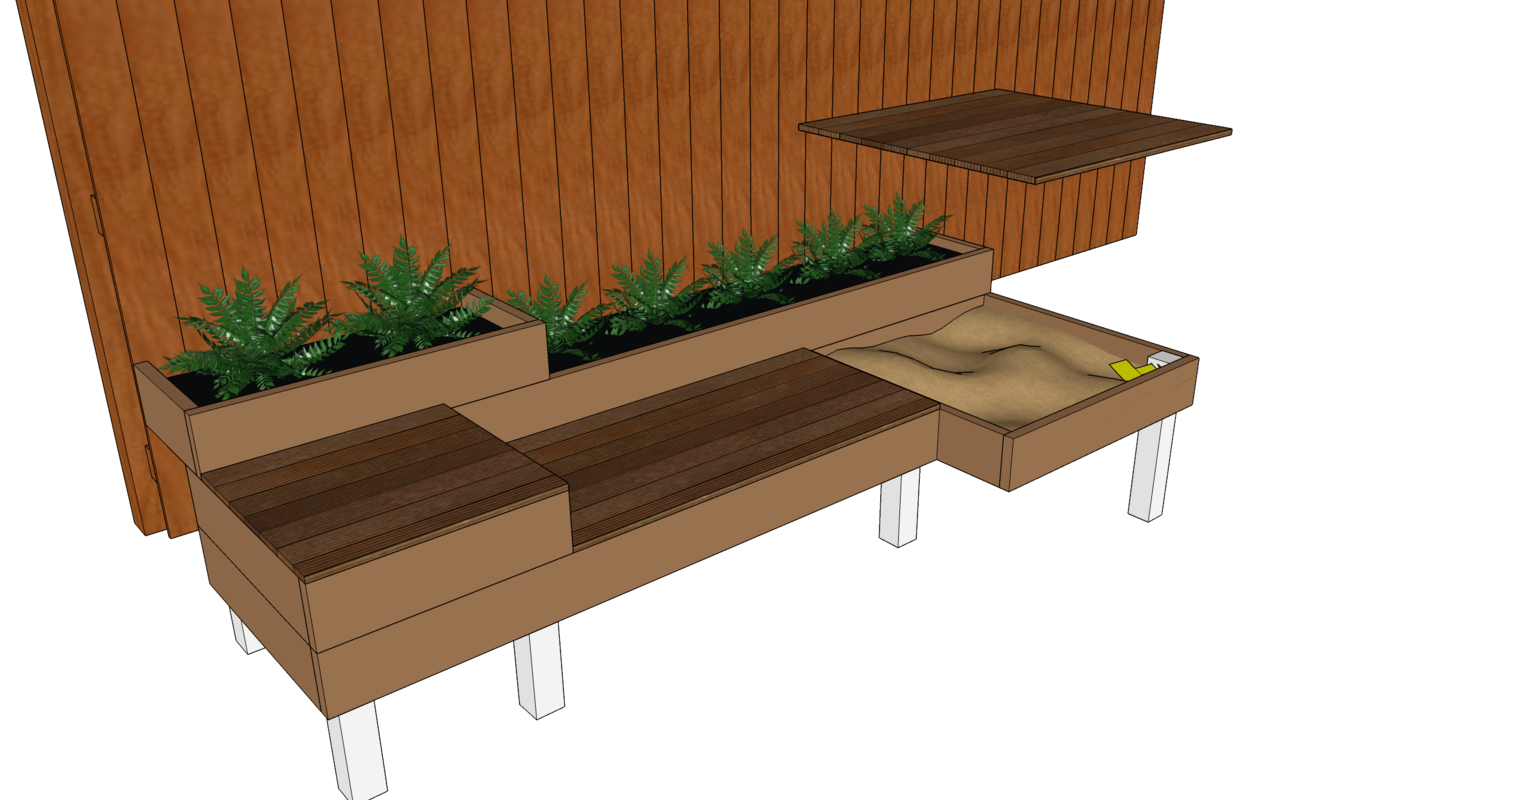
Having a 3d rendering is nice but it’s not enough to qualify as a plan you’d use to assemble the structure. Fortunately, with SketchUp, you can hide the faces and show only lines, which looks more like an architectural drawing that can be used as a blueprint. After realizing this I was very tempted to cut all my pieces before building it but I’ve done some framing in the past and know that things don’t always line up the way you think they should, especially when working directly on the ground and with other structures. You just can’t rely on everything else to fall into place well enough to match up with your structure. With my plan in hand, I could purchase materials and start building.
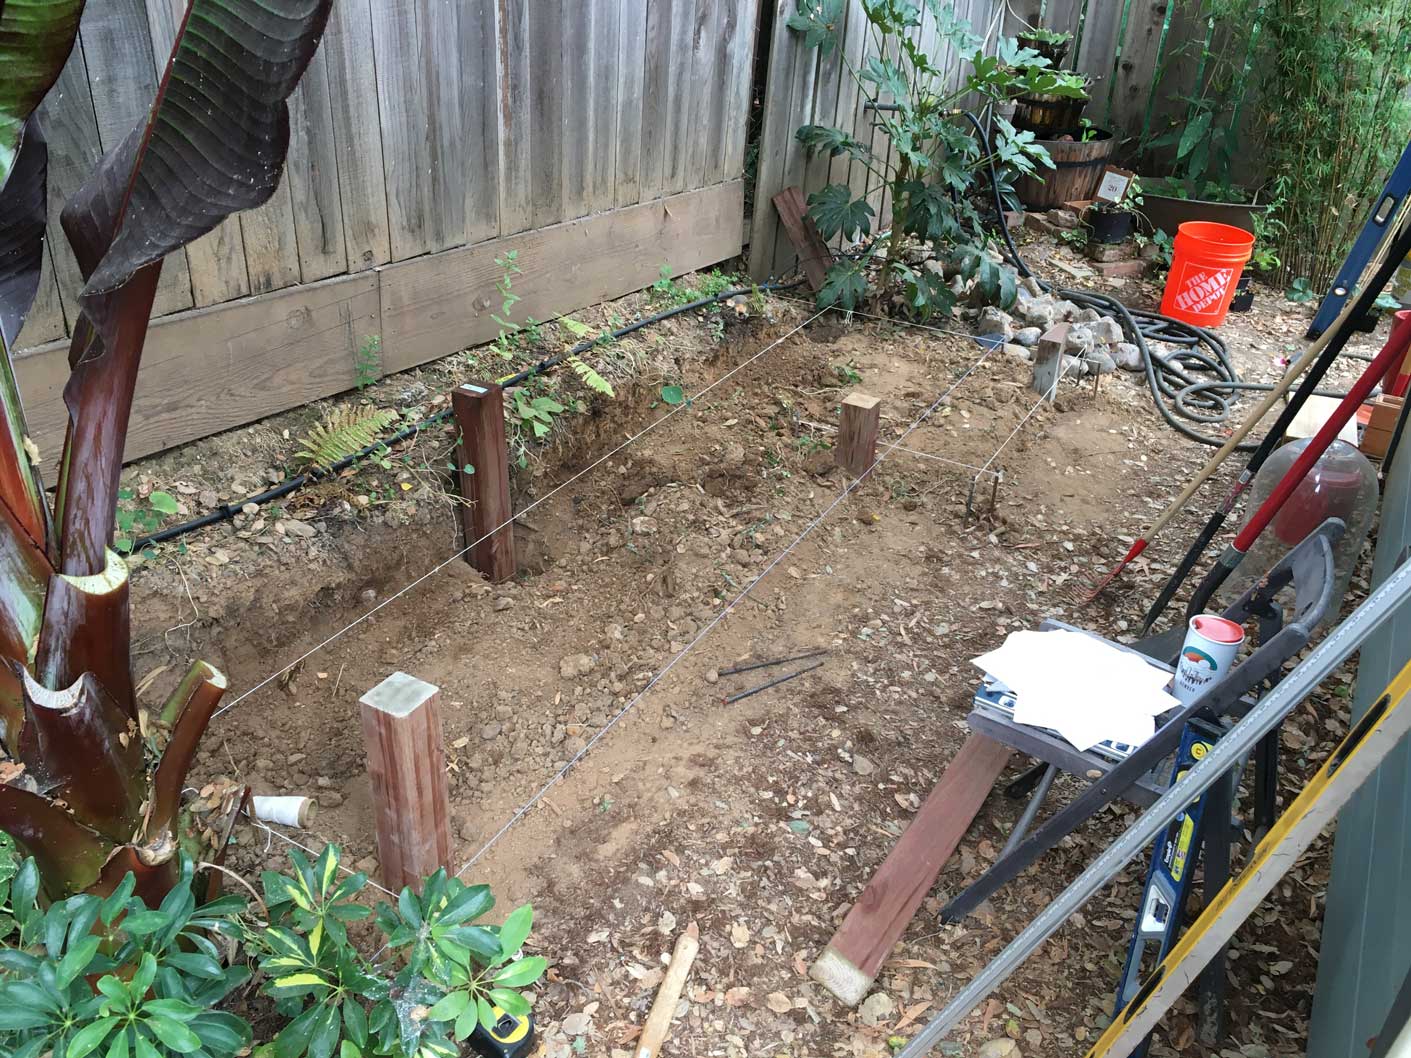
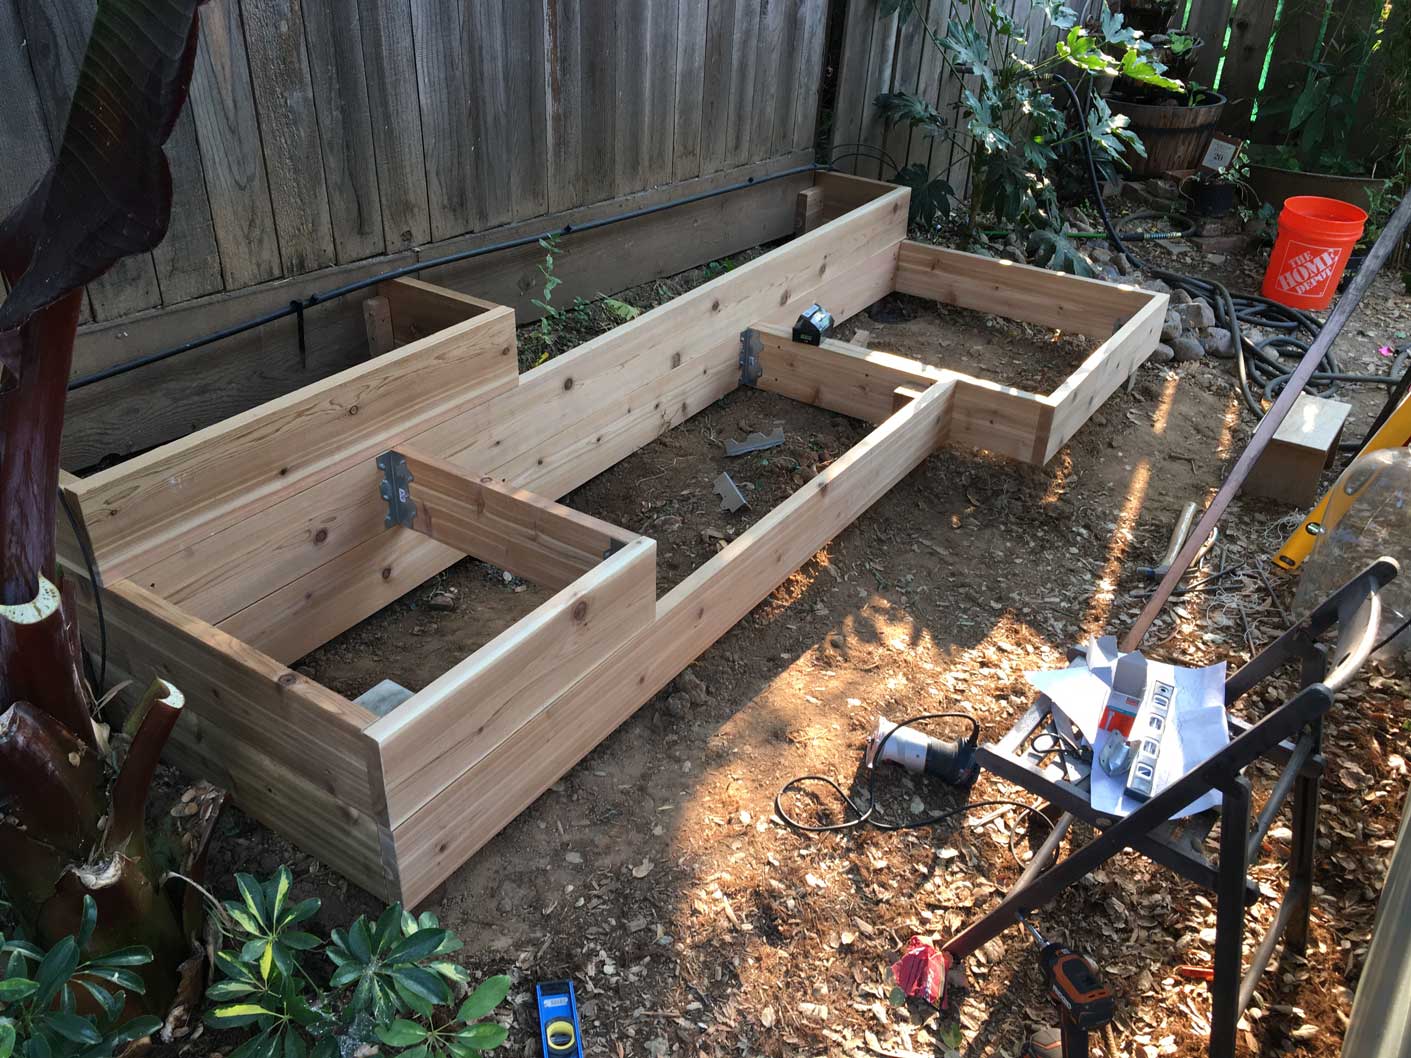
What’s nice about designing and building something is that you get to go back to the design and modify it if something isn’t working during the build, which happened a couple of times during this project. Once I started digging out the holes for the support posts I realized they wouldn’t be sufficiently placed to stabilize the structure, so I went back to the design and added one in, which affected one of the tiers and materials used. I also realized I forgot to add joists to hold up the deck planks and was able to quickly add those in and calculate the additional materials needed.
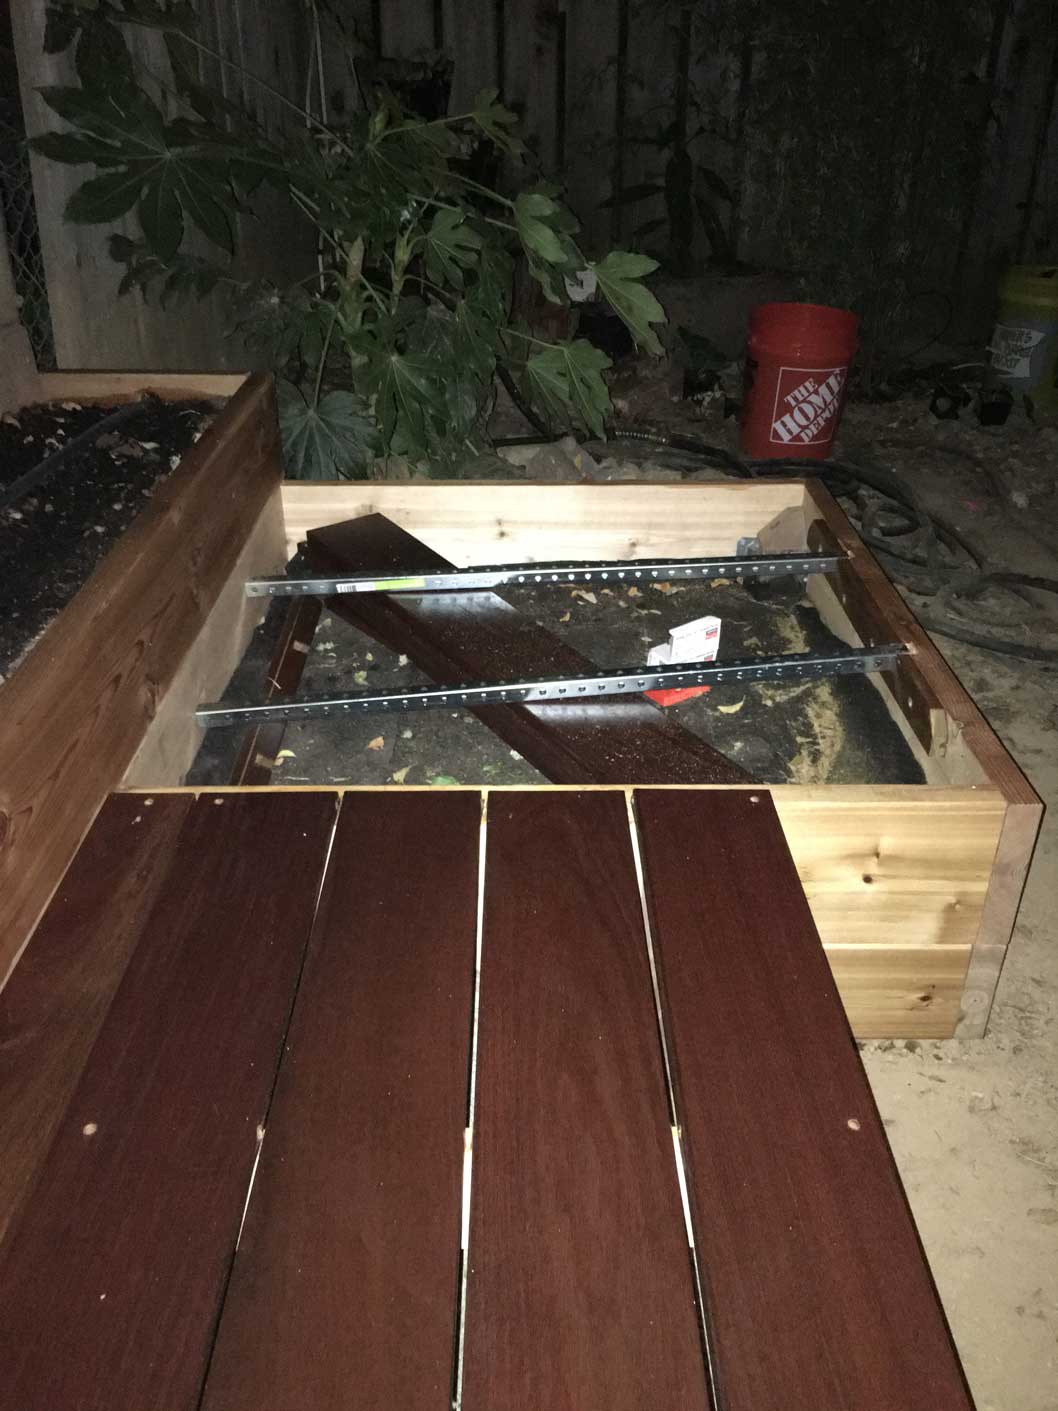
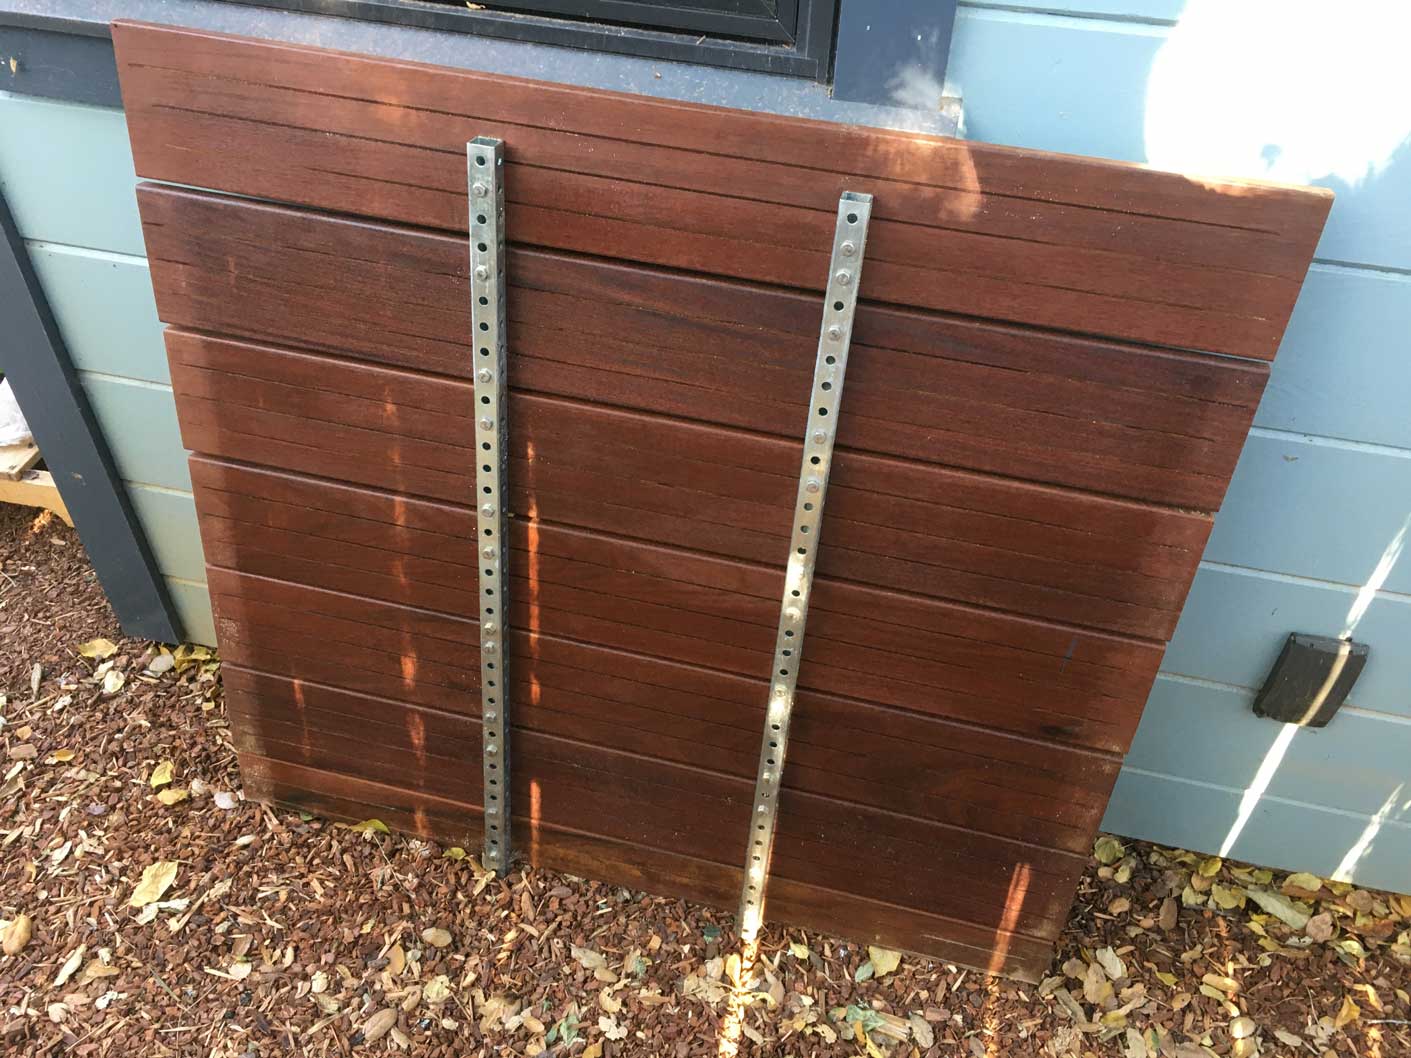
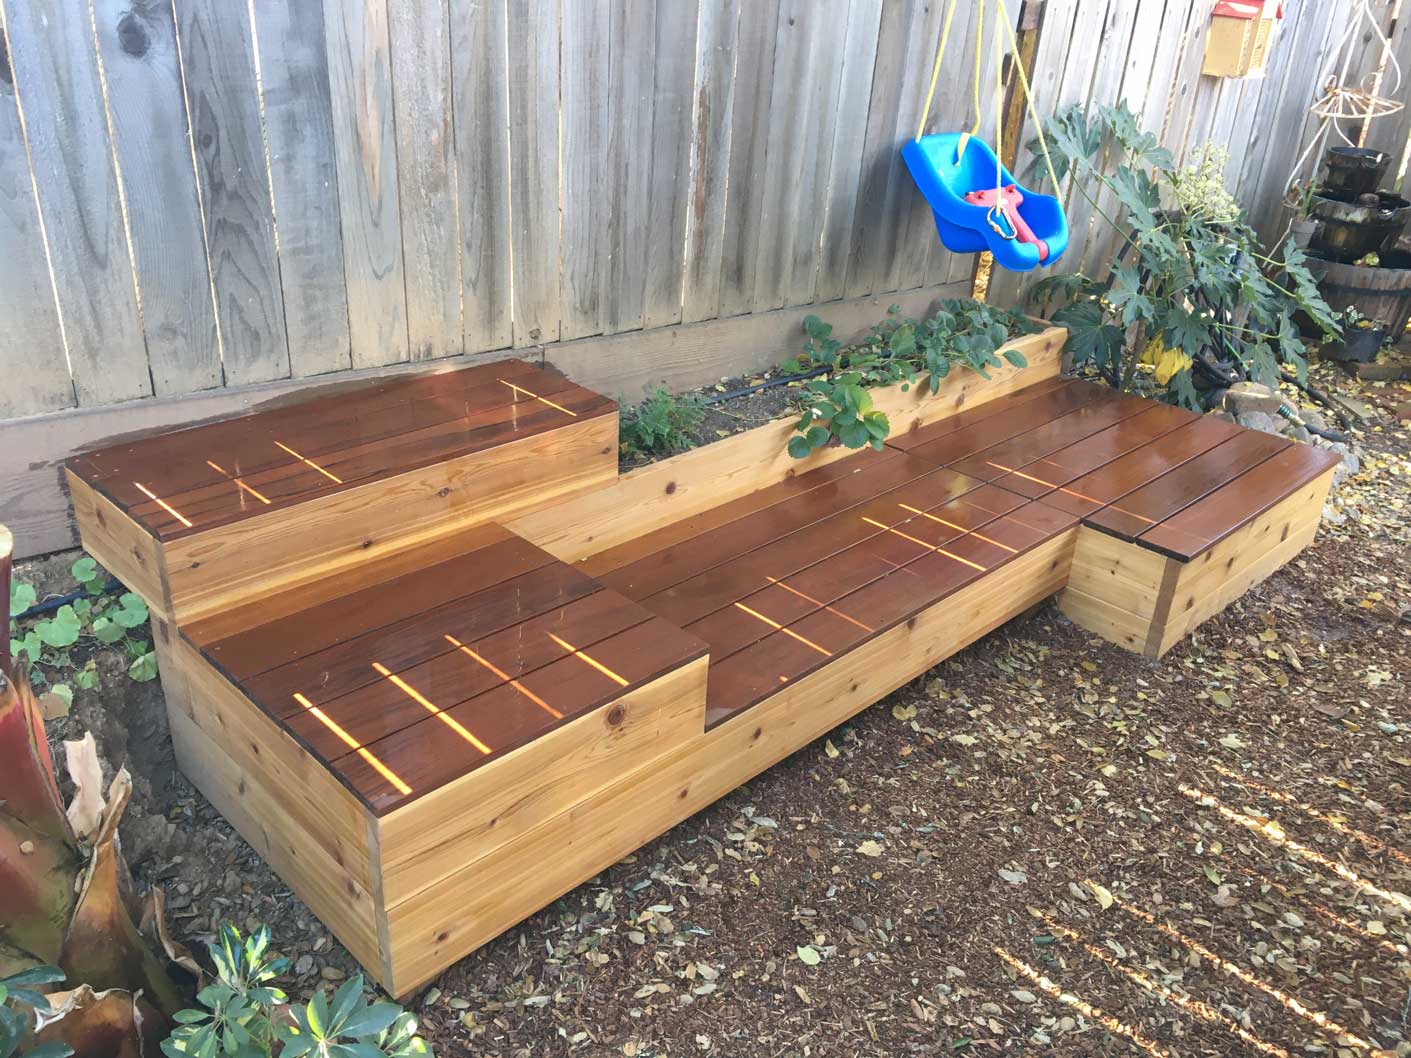
There are times when a design will only get you so far. Sometimes you have to let the materials guide you and not the other way around because of several factors like; availability, size, shape, strength, durability, etc. In my case, I wanted a lid for the sandbox and for it to be made of the same decking material as the rest of the deck, which was fine, but it needed to be somewhat lightweight and compact so it could easily be taken off and stowed away. I thought angle iron would be a good way to join all the pieces together but after going out to look at options a the store I realized this wouldn’t be possible unless I wanted to use really large pieces of aluminum rather than iron. Iron would rust and break down after a while which would pollute the sand and probably fall apart in a few years. Aluminum would hold up better but would need to be more massive to be structurally sound. While at the store I found a zinc-plated perforated square bar that not only was compact and would stand up to the elements, but it was the exact right length for the lid. The only downside was the holes were already set, meaning I couldn’t drill new holes to fit my layout perfectly, but it was worth a shot and ended up working out ok.
Deck

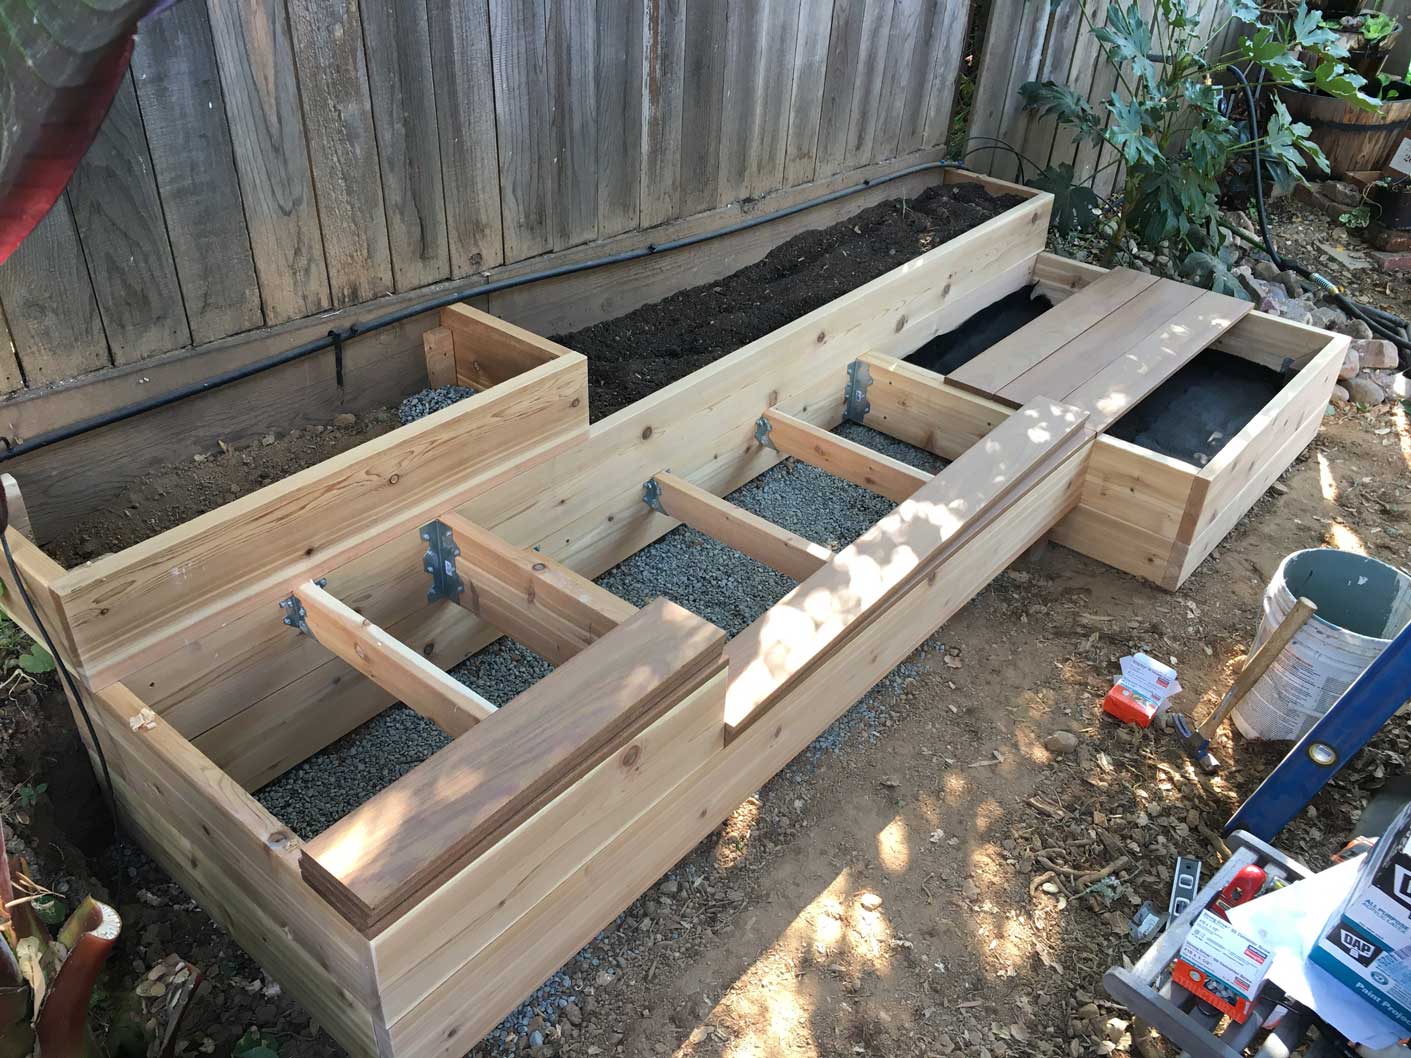
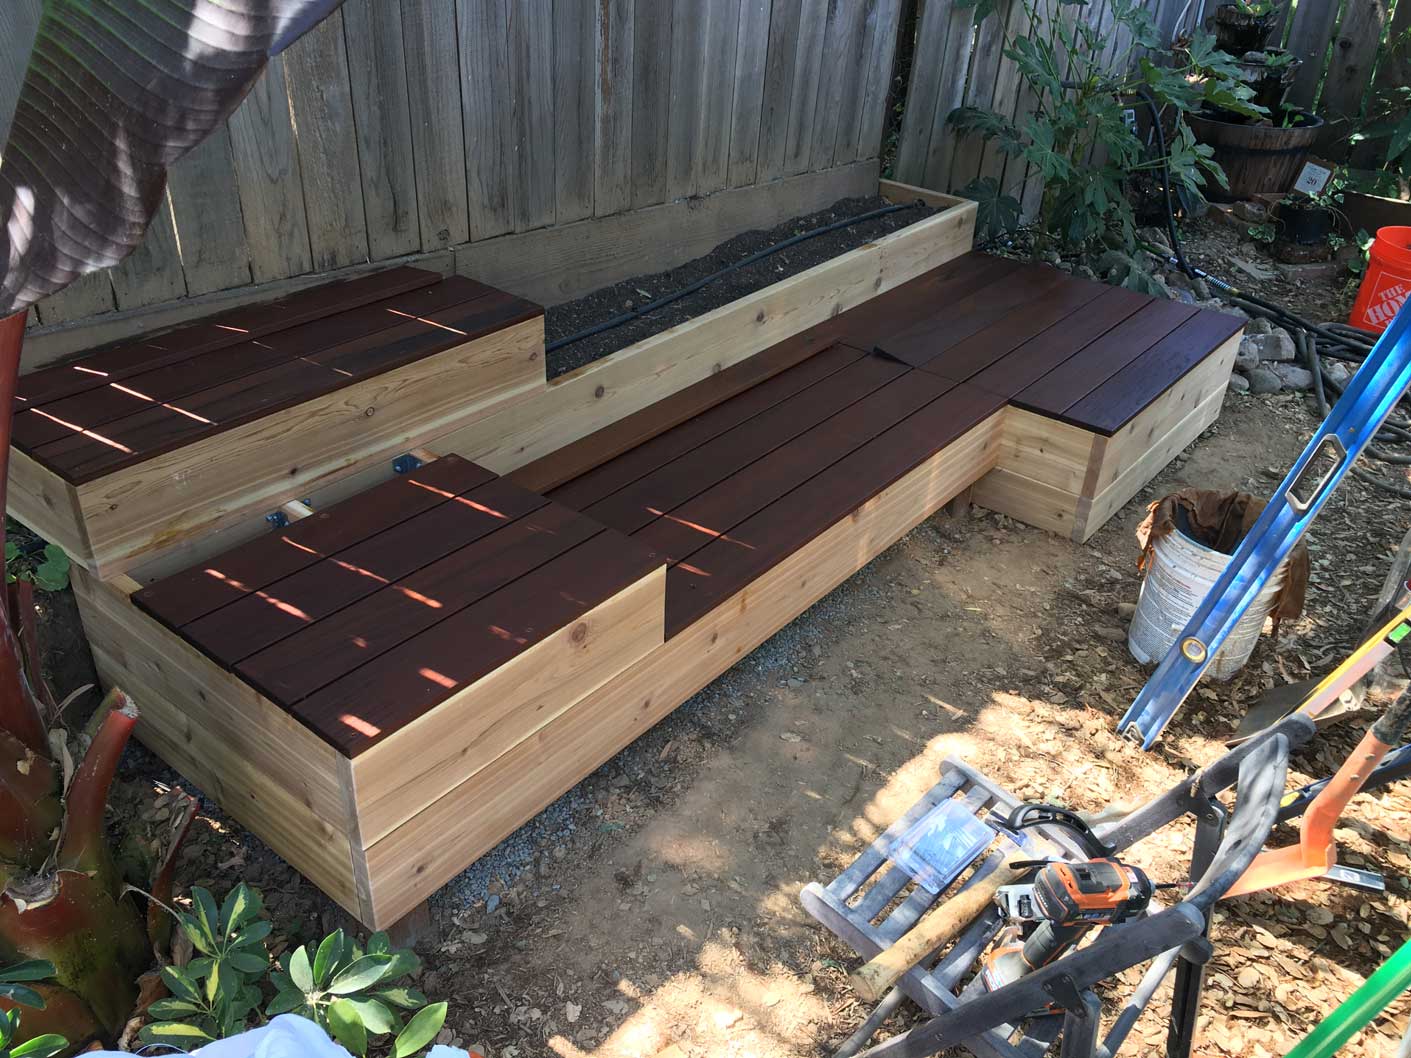
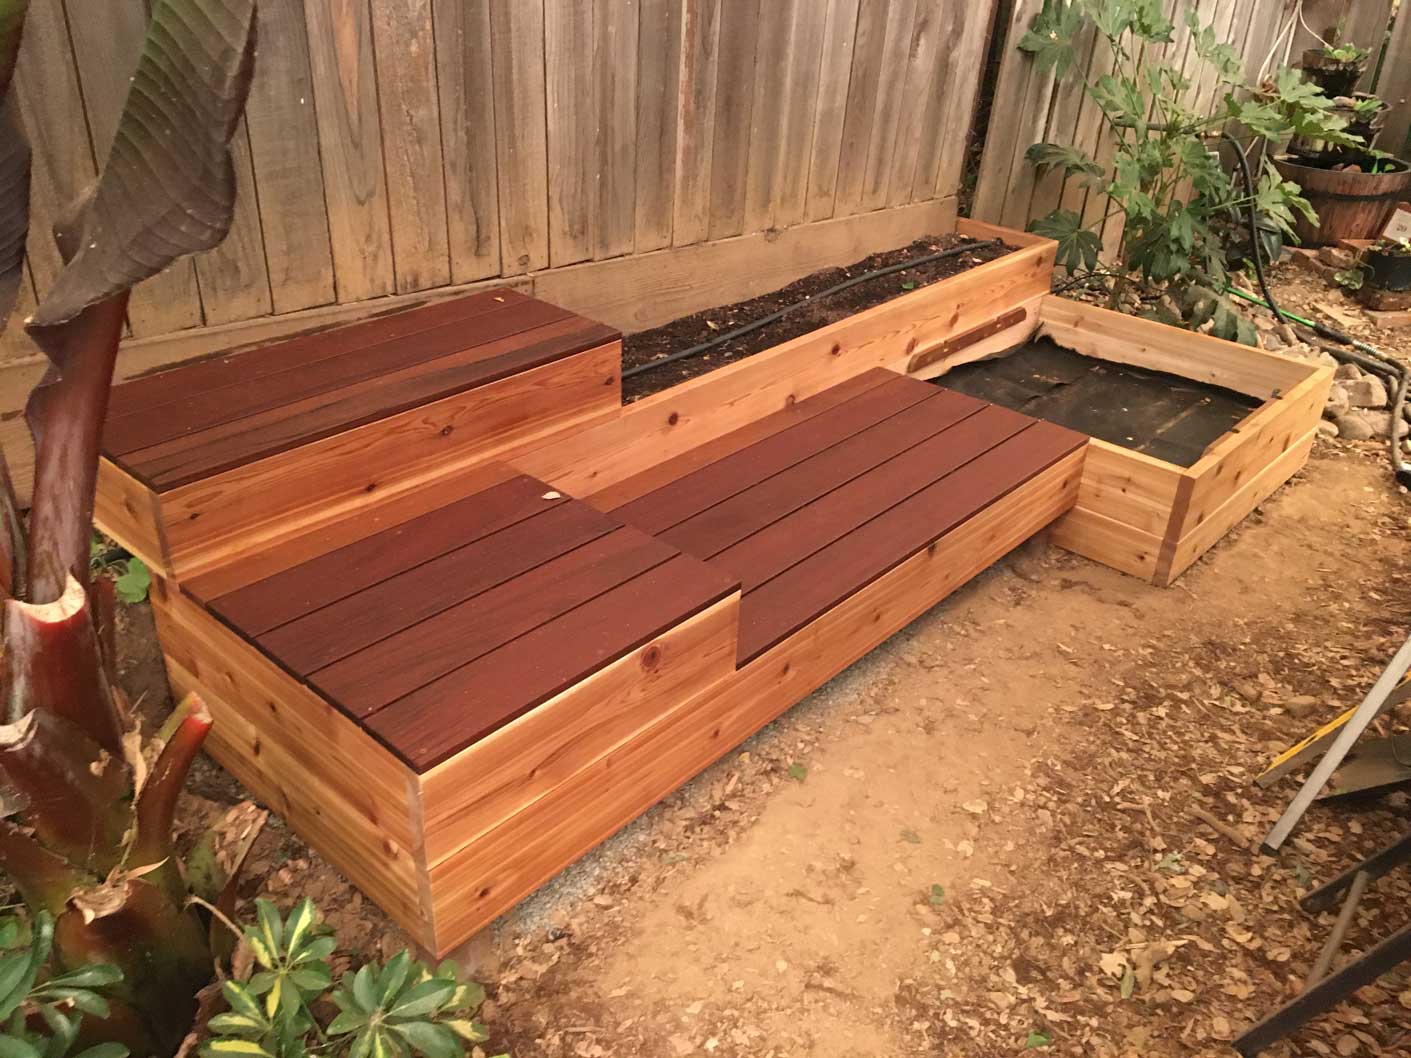
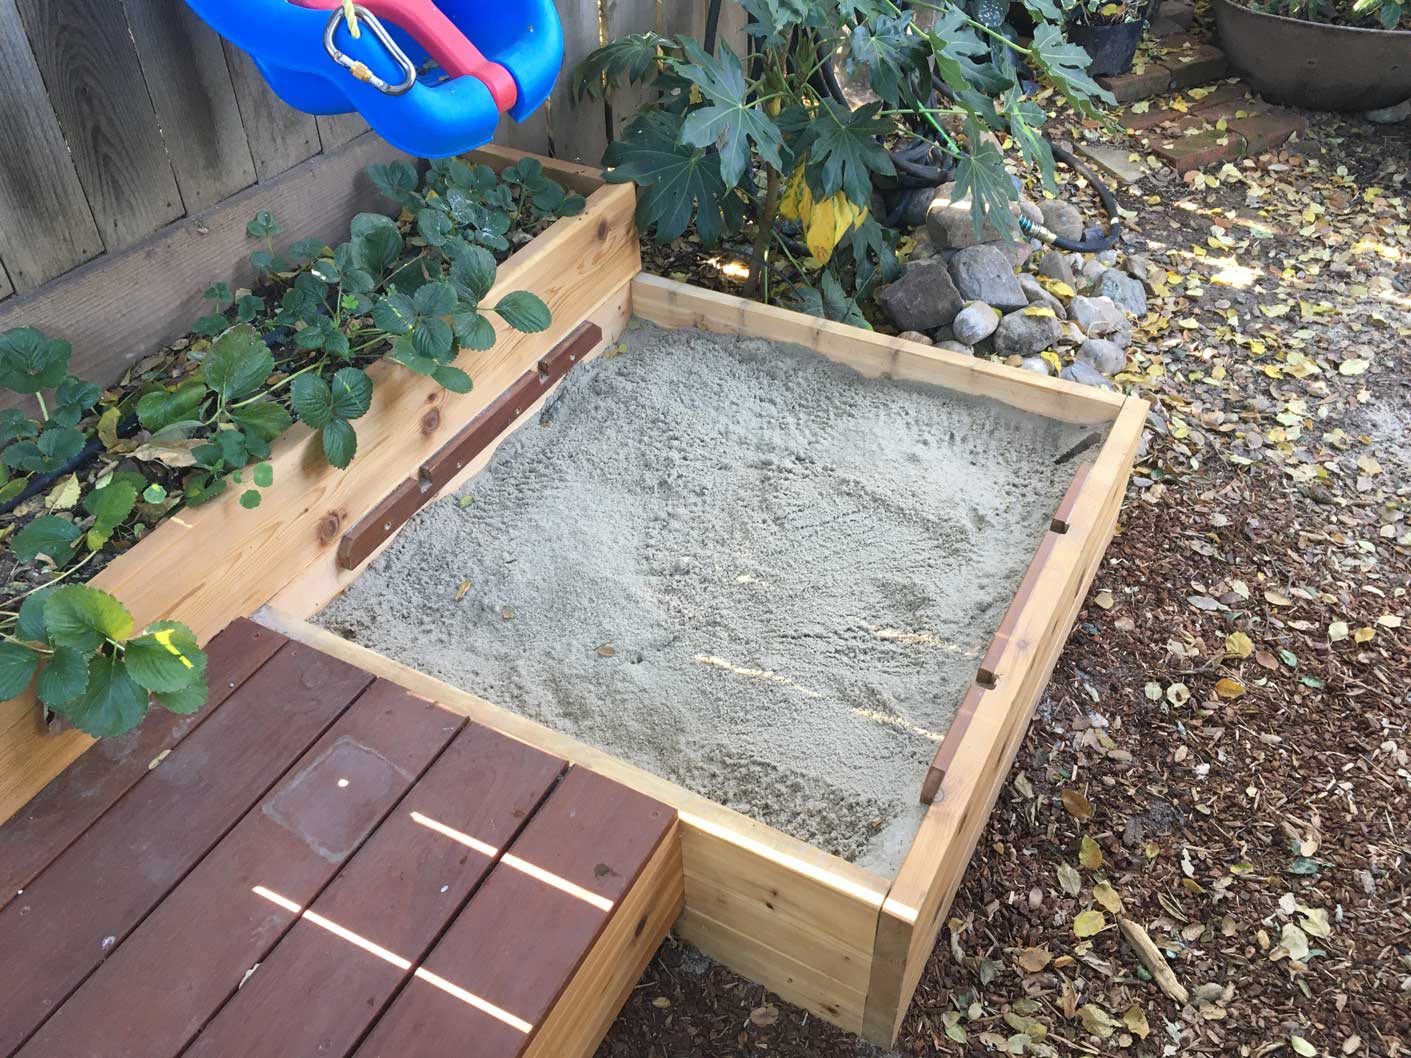
Sandbox